
How to Build an Android Application in 2024 (Complete Guide)

Building an Android application can be a rewarding endeavor, whether you’re looking to create a new app for personal use, a business project, or to publish on the Google Play Store. Here’s a complete guide to building an Android application in 2024, covering everything from setting up your development environment to publishing your app.
1. Setting Up Your Development Environment
A. Install Android Studio
- Download Android Studio: Visit the official Android Studio website and download the latest version.
- Install Android Studio: Follow the installation instructions for your operating system (Windows, macOS, Linux).
- Set Up SDK: During installation, ensure you install the Android SDK, Android Virtual Device (AVD), and other necessary tools.
B. Configure Your Development Environment
- Open Android Studio: Launch Android Studio and complete the initial setup.
- Create a New Project: Select “Start a new Android Studio project” and choose a template (e.g., Empty Activity).
- Configure Project Settings: Set your project name, package name, save location, and language (Kotlin or Java).
2. Understanding Android Project Structure
A. Project Files
src: Contains your app’s source code, including activities, fragments, and other components.res: Resource directory, including layouts, drawables, strings, and other resources.AndroidManifest.xml: Declares your app’s components and permissions.build.gradle: Configuration files for Gradle, the build system used in Android development.
3. Designing Your App
A. Create UI Layouts
- XML Layouts: Design your app’s user interface using XML. For example,
activity_main.xmlfor the main activity. - ConstraintLayout: Use ConstraintLayout for flexible and responsive UI design.
B. Adding UI Components
- Views: Add UI components such as
TextView,Button,EditText, andImageView. - RecyclerView: Use RecyclerView for displaying lists of data efficiently.
C. Styling Your App
- Themes and Styles: Define your app’s look and feel using themes and styles.
- Material Design: Follow Material Design guidelines for a modern and consistent UI/UX.
4. Developing App Functionality
A. Activities and Fragments
- Activities: Define your app’s screens using activities. Override lifecycle methods (e.g.,
onCreate,onStart). - Fragments: Use fragments for modular and reusable UI components.
B. Handling User Input
- Event Listeners: Implement event listeners (e.g.,
onClickListener) to handle user interactions. - Form Validation: Validate user input for forms and other data entry.
C. Networking
- Retrofit: Use Retrofit for network requests and API calls.
- OkHttp: Use OkHttp for HTTP operations.
D. Data Storage
- Room Database: Use Room for local database storage.
- SharedPreferences: Use SharedPreferences for key-value pair storage.
5. Testing Your App
A. Unit Testing
- JUnit: Write unit tests for your app’s logic using JUnit.
- Mockito: Use Mockito for mocking dependencies.
B. Instrumentation Testing
- Espresso: Use Espresso for UI testing.
- AndroidJUnitRunner: Run instrumentation tests on devices or emulators.
6. Debugging and Profiling
A. Debugging Tools
- Logcat: Use Logcat for logging and debugging.
- Debugger: Use Android Studio’s built-in debugger for stepping through code.
B. Profiling Tools
- Android Profiler: Use Android Profiler for performance monitoring.
- Memory Profiler: Identify memory leaks and optimize memory usage.
7. Publishing Your App
A. Preparing for Release
- Sign Your App: Generate a release key and sign your APK.
- Optimize Your APK: Use ProGuard to shrink, optimize, and obfuscate your code.
B. Publishing on Google Play Store
- Create a Developer Account: Sign up for a Google Play Developer account.
- Prepare Store Listing: Create your app’s store listing with descriptions, screenshots, and other details.
- Upload APK/Bundle: Upload your signed APK or Android App Bundle.
- Submit for Review: Submit your app for review and wait for approval.
C. Post-Publishing
- Monitor Analytics: Use Google Play Console for analytics and performance monitoring.
- Handle User Feedback: Respond to user reviews and feedback.
Conclusion
Building an Android application in 2024 involves a series of well-defined steps, from setting up your development environment to publishing your app on the Google Play Store. By following this guide, you can navigate the complexities of Android development and create an app that is functional, user-friendly, and ready for the market. Happy coding!
 Best Free AI Tools for Small Businesses: Save Time, Get More, & Grow Faster


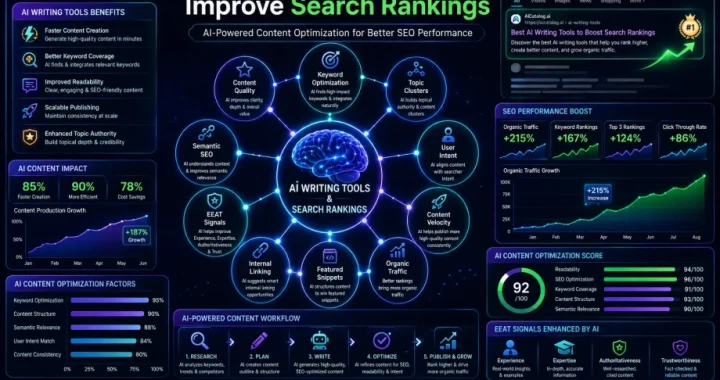 How AI Writing Tools Improve Search Rankings
  Business class flights worldwide: Travel in comfort for less
  The ultimate guide to finding Delta Air Lines flash sales and daily deals
  Do Dham Yatra Transport Options: Helicopter Vs. Road